|
|
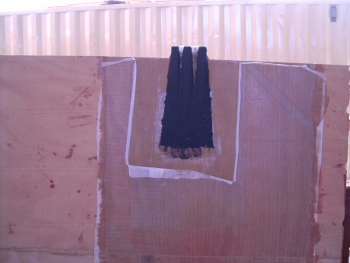
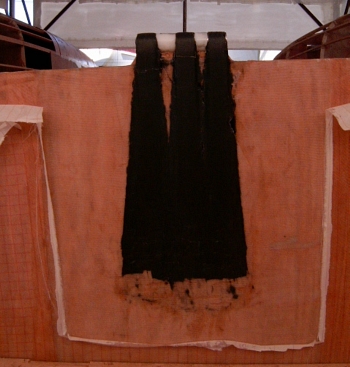
This is the plywood panel that has the composite chaniplate attached. The chainplate is made of carbon strands that are wrapped over the top of a set of stainless steel thimbles above the edge of the panel then laminated down both sides of the panel.
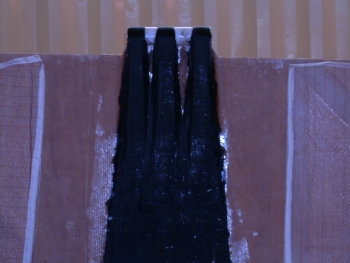
First the outer face of the panel has a shallow depression routed into it to allow the glass reinforcement to lie flush in the surface. Then multiple layers of glass are laminated onto the panel and the carbon strapping is sandwiched between the layers to bond them securely onto the panel. The laminating schedule is shown on the drawings.
|
|
|
Closer view of the strapping and glass covering.
|
|
|
Opposite face of the same panel.
|
|
|
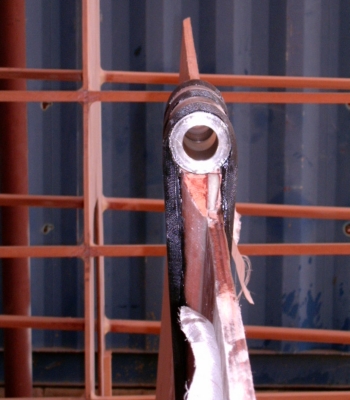
View of the edge of the panel, showing the carbon strapping and the thimbles over which it is wrapped. The chainplate is set slightly inboard from the line of the panel, so timber wedges are used as fillers between the strapping and the plywood on the inner face.
|
|
|
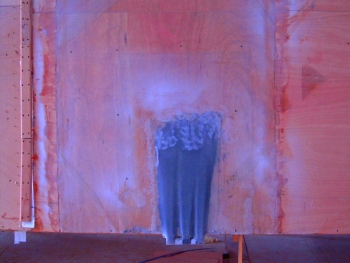
The panel has been glued into position, with scarph joints to the panels each side of it. The carbon stands slightly proud of the finished surface of the panel, so epoxy filler will be used to fill in the hollows between the straps and form a neat wedge-shaped mound over the strapping.
|
|
|
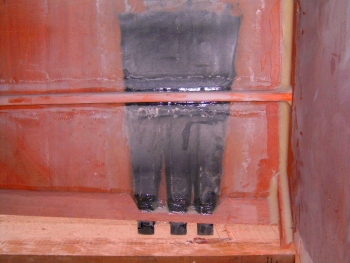
View of inside of the panel in position on the hull framing. Before fitting the panel, the stringers and sheer clamp must be notched where necessary to compensate for any projection of the strapping from the inner surface of the panel, so that the panel can lie fair in the hull skin.
The panel is epoxied to all structure that it contacts then all intersections with stringers and bulkheads are reinforced with high density structural epoxy fillets.
|
|
|
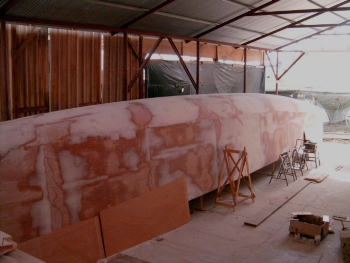
The hulls can now be faired to a smooth surface. It takes less effort to remove slight lumps than to fill in large depressions between the bumps, so start by planing any slight bumps with a sharp plane.
Fill any depressions with an epoxy filler that can be easily sanded, like System Three Quikfair or similar. Repeat as necessary and sand to a smooth and fair surface.
|
|
|
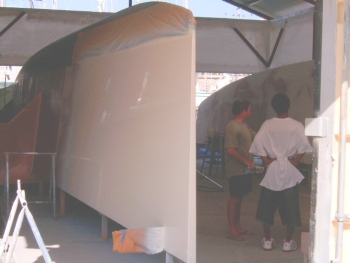
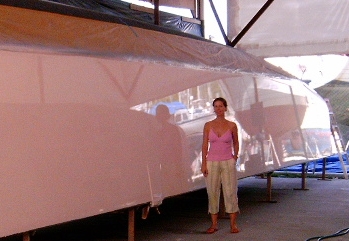
At this stage the painting can start. The faired hulls must first receive sealing coats of epoxy then the primer and undercoats of the paint system that you choose to use.
Phil has chosen to do the full paint spec on the hulls at this stage, as seen in these photos. Some of this work will be damaged when adding the bridgedeck and deck, so the alternative option is to only apply primers and undercoats at this stage and leave the finishing coats for later.
|
|
|
The hulls can now be faired to a smooth surface. It takes less effort to remove slight lumps than to fill in large depressions between the bumps, so start by planing any slight bumps with a sharp plane.
Fill any depressions with an epoxy filler that can be easily sanded, like System Three Quikfair or similar. Repeat as necessary and sand to a smooth and fair surface.
|
|
|
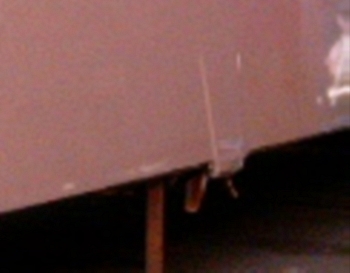
Completed chainplate, faired and painted.
|
Back to DH550 Photo Index
|
Back to DH550 Photo Index
|